Allergic to Dust? How to Survive and Execute a Post-Reno Cleaning Safely
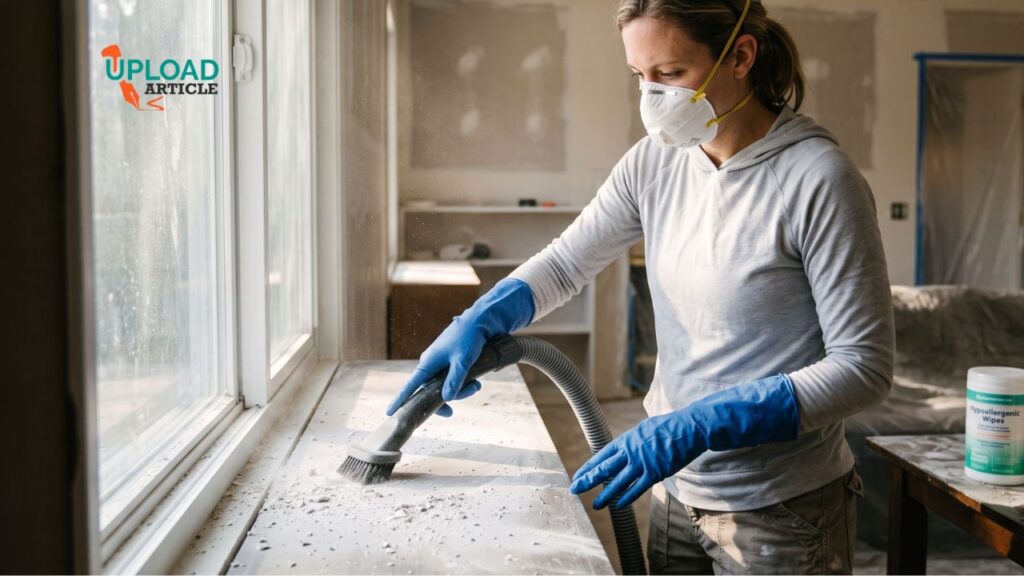
The successful completion of the renovation project is, of course, a clear indication of victory, as it leaves one with a wonderful cooking area, a beautiful bathroom, and nicely painted rooms. However, as soon as the construction crew finishes using their equipment and exits the property, another highly persistent opponent is left behind: remodeling dust.
Remodeling dust is much harder to clean than ordinary household debris because it is a very abrasive mixture of drywall dust, sawdust, silica crystals, and various chemicals. Entering into such a space while suffering from dust allergies is like walking into a minefield of physical hazards for one’s lungs. Merely entering the door of a recently remodeled room often sets off uncontrollable coughing spells, sinus congestion, and irritated, teary eyes.
To those who suffer from such physical sensitivities, the completion of a thorough post reno cleaning is necessary in order to regain their living space in a way that does not cause any physical harm. Cleaning up on your own is a particularly dangerous process that should follow a carefully designed strategy.
The Hidden Dangers of Post-Reno Dust
Before reaching for a normal broom, it is important to know why construction garbage needs special care.
Unlike normal household dust, which is made up of soft fabric particles and dead skin cells, remodeling dust is abrasive by nature. It is created from tiny, sharp particles that come from scraping ceramic tiles, sanding joint compound, and cutting chemically treated wood.
Due to their small sizes, these particles have very low weight, hence stay suspended within the air column inside for long periods.. What happens when you breathe them in? Inhaling them does more than simply cause that familiar tickle behind the nose we often call seasonal allergies; it inflames and irritates those highly sensitive tissues that coat our entire airways!
Step-by-Step Survival Guide for Safe Cleanup
For a systematic elimination of these air pollutants without their re-dispersion back into your breathing space, there must be a careful and strategic moisture-based sanitation process carried out from the top down.
1. Gear Up with Proper PPE
Venturing into an area that is freshly renovated without substantial physical barricades will result in instantaneous allergic attacks. Ensure that you have the following equipment at your disposal:
- N95/N100 Mask: Paper-made surgical masks do not have sufficient thickness to filter the fine dust particles from drywall.
- Wrap-Around Safety Goggles: These will ensure that any airborne dirt does not get into your eyes, which can cause irritation.
- Coveralls and Heavy-Duty Gloves: It is important that you protect your skin, and this attire must be washed at once after you complete the cleaning task.
2. Isolate and Ventilate
Prior to disturbing any existing particles, you have to completely quarantine the affected area.
- Block off entrances to unrenovated rooms with heavy-duty plastic and painter’s tape.
- Open the windows of the working area and use box fans to force particles out of the room.
Critical Point: You have to make sure that the central HVAC system is totally shut off during the cleaning process. By running the system, you will allow extremely abrasive dust to travel through the return duct, thus contaminating other parts of your home.
3. The “Top-to-Bottom” Wet Wipe Strategy
The use of conventional brooms and feather dusters is highly impractical for people suffering from allergies, since these devices only succeed in propelling the dust that has settled elsewhere back into circulation.
- Ceilings and walls : Attach a damp microfiber cloth to the end of a flat mop, wiping the surface of the ceiling first before moving on to the walls.
- Fixtures and Ledges: Clean all light fixtures, fan blades, door moldings, and baseboards using a damp cloth, washing the cloth periodically in fresh water.
- Cabinets and Drawers: First, vacuum the interiors of any cabinets using a vacuum cleaner fitted with a filter, then finish up by wiping them down with a damp cloth.
4. HEPA Vacuuming
Once most of the airborne particles settle down on the floor, use a vacuum cleaner that is fitted with a tested HEPA filter. A regular household vacuum cleaner will tend to blow out the tiny dust particles back into the air through its exhaust ports. Glide the nozzle slowly over all the hard and carpeted surfaces.
Critical Mistakes to Avoid
| What to Avoid | Why It’s Dangerous | Better Alternative |
| Dry Sweeping | Aggressively launches fine particulate matter directly into your breathing zone. | Implementing damp mopping or utilizing a certified HEPA vacuum. |
| Using Regular Vacuums | Fails to trap microscopic debris, spewing a fine cloud of dust back into the air. | Utilizing specialized, true HEPA-certified filtration equipment. |
| Forgetting the HVAC Filters | Traps construction residue within the ventilation system, circulating it indefinitely. | Replacing all HVAC system air filters immediately following the final cleanup. |
Final Thoughts
Moving back into your house after extensive remodeling does not necessarily need to result in a compromised respiratory condition. With the help of moisture-intensive cleaning techniques in place of rough dry sweeping, and by wearing the right PPE, you can ensure that dangerous construction dust is eliminated without inducing debilitating attacks. Be thorough and follow a systematic method to clean the area during your post reno cleaning, and very soon you’ll be able to relish the new look of your home.