How to Face Swap Photos That Look Natural, Not Pasted On
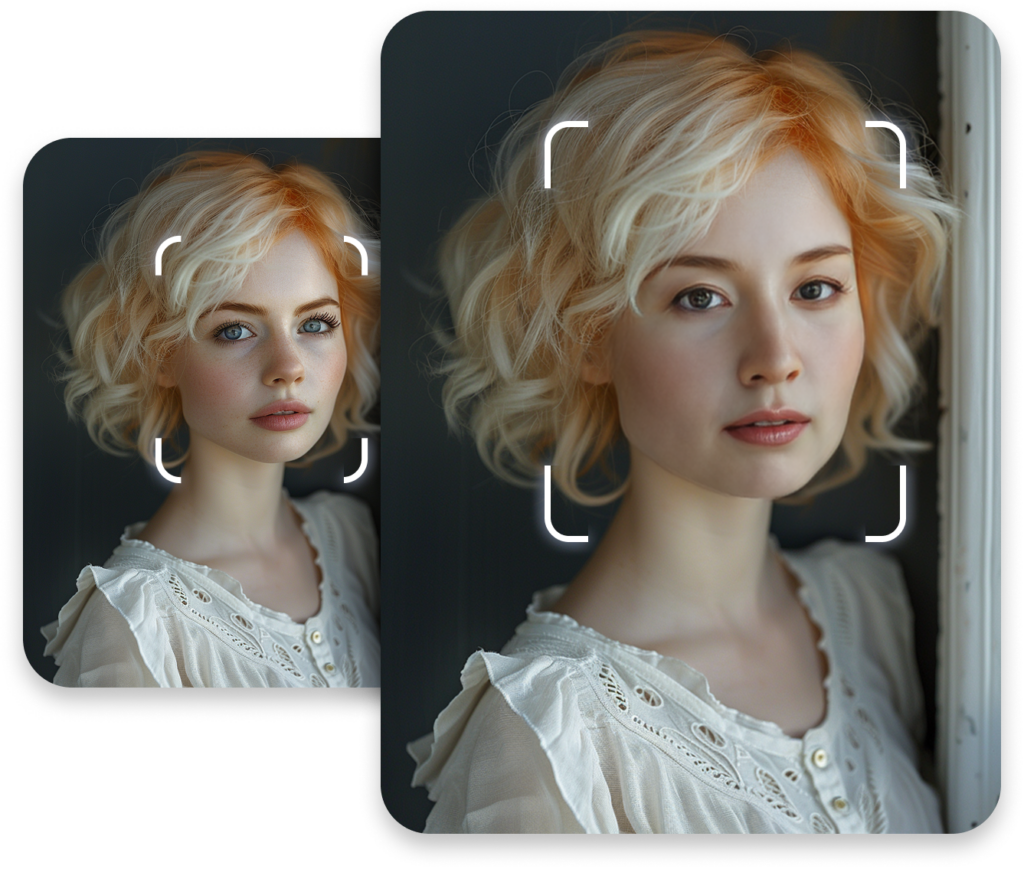
Most people have seen a bad swap. The skin tone is off by a shade, the jawline floats above the neck, and the lighting on the new face points in a different direction from everything else in the frame. The idea is simple, but the result only works when the details line up. If you make social posts, party invitations, mockups or quick creative experiments, a few habits can lift your results from obviously edited to quietly convincing.
This guide walks through the full process in plain terms. You will learn what makes a swapped face believable, how to pick the right pair of images, a step-by-step workflow you can repeat, and how to fix the usual problems. We also cover how to use the technology responsibly, because a good result is only worth having if everyone involved is comfortable with it.
What Makes a Swapped Face Believable
A face swap tool does a lot of heavy lifting, but it still depends on the quality of what you feed it. Three factors decide whether the final image reads as real: lighting, angle and resolution. When these match between your two images, the software has very little to guess, and the blend looks seamless.
Lighting is the most common cause of a fake look. Soft window light on one photo and hard overhead flash on the other will create shadows that fight each other. Angle matters because a face turned thirty degrees to the left cannot be mapped cleanly onto a face looking straight at the camera. Resolution matters because a sharp face on a blurry body, or the reverse, immediately draws the eye to the edit.
Expression and Skin Tone
Expressions carry a surprising amount of weight. A wide laugh paired with a neutral target pose can stretch features in odd ways. Try to choose images where the mood is similar, even if the faces belong to different people. Skin tone is the second quiet giveaway. Most modern tools adjust color automatically, but starting with photos taken in similar conditions will always give cleaner output than relying on correction after the fact.
Choosing the Right Source and Target Images
The source image supplies the face, and the target image supplies everything else. Treat them as a matched pair rather than two random files. A little time spent selecting the pair saves a lot of time retouching later.
For the source face, look for these qualities:
- A clear, front-facing view with both eyes visible
- Even lighting with no harsh shadows across the nose or cheeks
- No sunglasses, hands or hair covering the forehead and chin
- The highest resolution you have available
For the target image, pick something where the head position is close to the source and where the face area is not too small. A target where the person occupies only a tiny part of the frame will lose detail in the swap, so crop in first if you need to.
Group Shots and Busy Scenes
Group photos add a layer of complexity. Each face needs to be handled in turn, and it helps to decide beforehand which face maps to which person. If your tool detects several faces, assign them one at a time and check each result before moving on. Rushing a group edit is the fastest way to end up with a mismatched pair of eyes in the back row.
A Repeatable Step-by-Step Workflow
Once you have a strong pair of images, a consistent process keeps your output reliable. The steps below work for most casual and semi-professional projects, and they can be completed in a few minutes once you have done them a couple of times.
Prepare the Images
Start by cropping both files so the faces take up a healthy portion of the frame. Straighten any tilted horizons and brighten photos that are clearly underexposed. Avoid heavy filters at this stage. Filters bake color shifts into the file, and those shifts can confuse the matching process. Save the originals separately so you can always go back.
Run the Swap and Review
Upload the source and target, run the swap, and then zoom in. Look at the hairline, the edge of the jaw, and the area around the ears, since blending problems tend to appear at the borders. AKOOL, like most current platforms, handles facial landmarks automatically, but a quick human check still catches things that automated matching misses.

Refine and Export
If the result is close but not perfect, make small adjustments instead of starting over. A slight brightness change on the swapped area, or a gentle crop that hides an awkward edge, can solve most issues. When you export, keep a high-quality version for editing and a compressed copy for sharing so you do not lose detail with every re-save.
Common Problems and How to Fix Them
Even with careful preparation, some results will need rescuing. Knowing the typical failure modes helps you diagnose quickly instead of guessing.
If the face looks flat or pasted on, the cause is almost always lighting. Try a different target image with a similar light direction, or lightly adjust the shadows on the target before swapping. If the edges look blurry or smeared, your source resolution is probably too low, so use a sharper original. If the eyes look slightly wrong, check that the gaze direction in both images is similar. People notice eyes first, and a mismatched gaze creates an uncanny effect even when everything else is perfect.
Hair is another trouble spot. Strands crossing the forehead can produce ghosting where the old and new faces overlap. Choosing a source with a clean hairline, or a target with similar hair, reduces the issue considerably.
Using Face Swaps Responsibly
The same tools that make creative work easy can also be misused, so it is worth setting a few ground rules. Only use photos of people who have agreed to be part of the project, and be especially careful with images of children or private individuals. If an edited image will be shared publicly, consider labeling it as edited so viewers are not misled.
For commercial work, check usage rights on both images. A stock photo license may not cover altering the face, and a model release may cover only certain uses. A short conversation upfront is far easier than a takedown request later.
Small Details That Make the Swap Disappear
Natural-looking results come from preparation more than from any single setting. Match the lighting, angle and resolution of your two images, keep expressions in the same range, and review the borders carefully before you export. When something looks off, diagnose the cause instead of reapplying the same edit and hoping for a different outcome.
Pair that technical care with sensible consent habits and your edited images will hold up for both the eye and the conscience. Start with one clean pair of photos, follow the workflow above, and refine from there. After a few rounds, you will know instantly which images are worth using and which ones to leave in the folder.