Top Proven Ways to Prevent Gym Workout Injuries
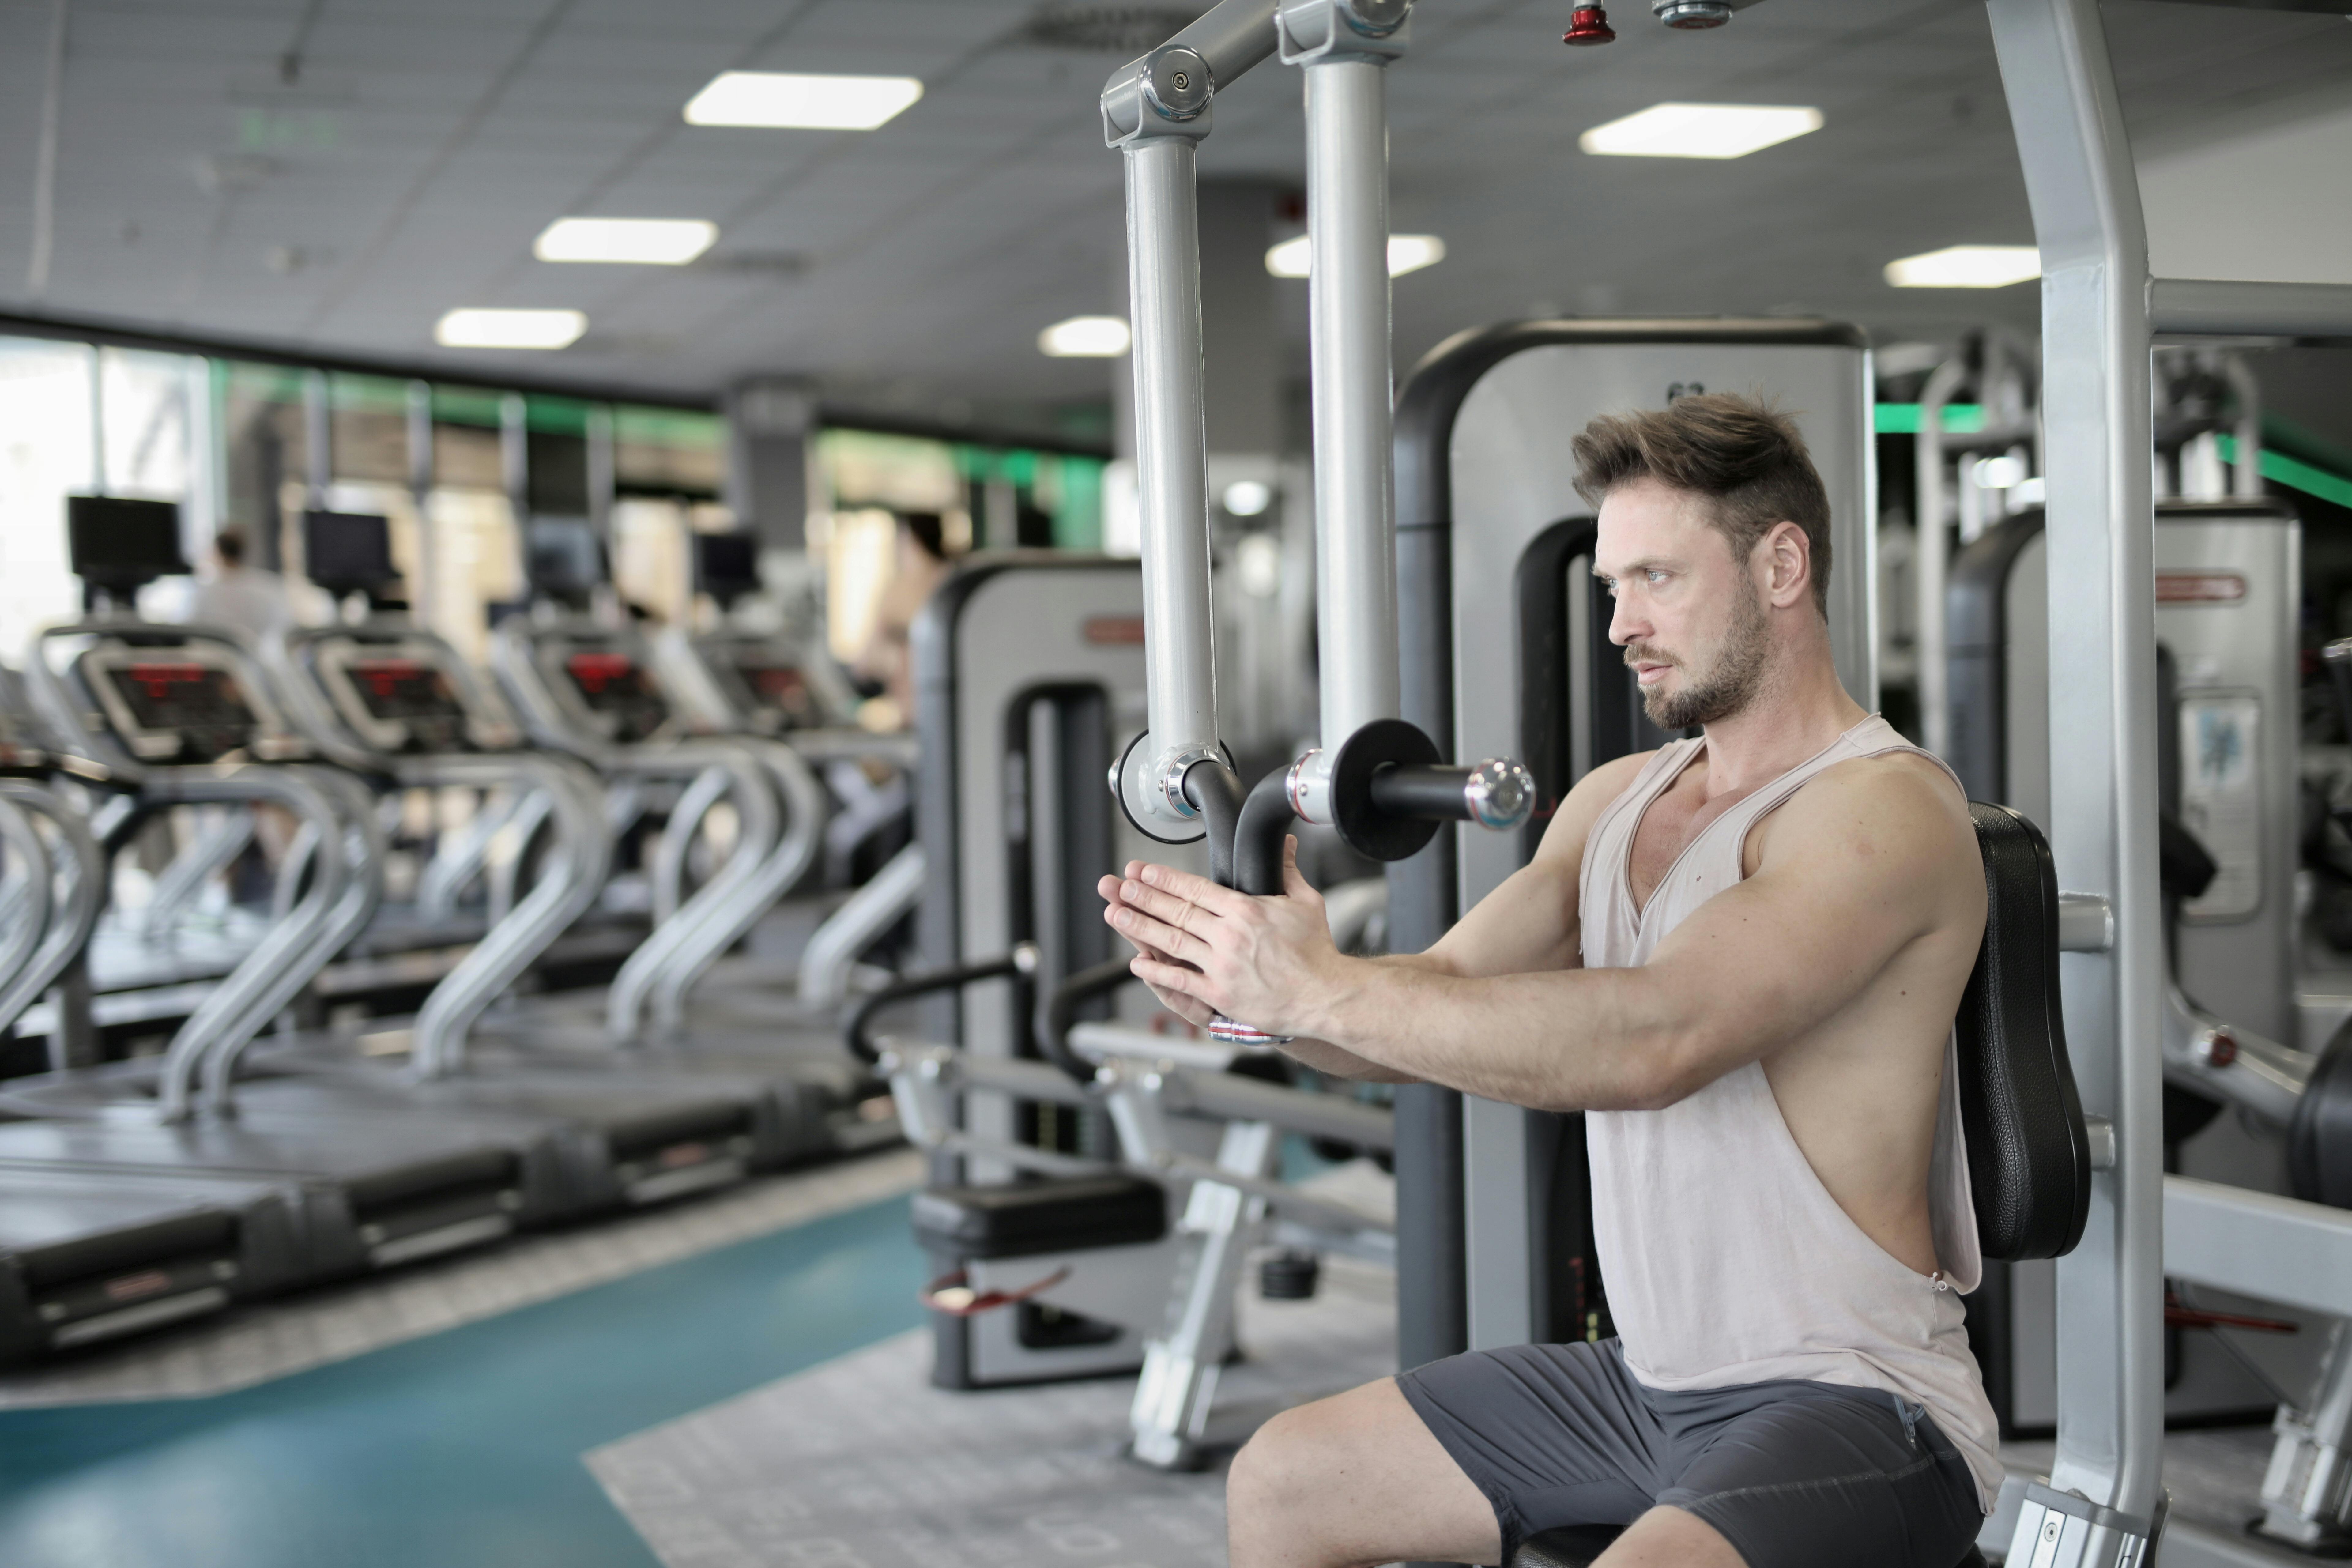
Every year, about 3 million people in the US head to the ER due to exercise-related injuries. That’s a lot of folks sidelined from their fitness goals just because they skipped a few smart steps. As a virtual fitness trainer and nutritionist in India, I am going to share the best proven strategies to keep you safe while you build strength and stamina in the gym.
You’ll learn how to prep your body right, nail your form, plan your sessions wisely, pick the right gear, and tune into what your body tells you. These tips focus on real ways to prevent gym workout injuries so you can train hard without the hurt. Stick with safe lifting techniques, and you’ll stay in the game longer.
Important 1: Mastering Preparation and Recovery Protocols
Prep and recovery set the stage for every workout. They help your muscles adapt without breaking down. Skip them, and you’re asking for trouble like strains or tweaks.
The Non-Negotiable Warm-Up Sequence
Start every session with a solid warm-up to get blood flowing and joints ready. Dynamic stretches beat static ones because they mimic your moves. For example, before bench press, do arm circles and light band pulls to wake up your rotator cuff.
Aim for 5-10 minutes of easy cardio like jumping jacks or rowing. Then add 2-3 warm-up sets with lighter weights for your main lifts. This cuts injury risk by up to 30%, per studies on athletes. Here’s how to break it down:
- General warm-up: Bike or jog lightly to raise your heart rate.
- Specific prep: Swing your legs for squats or do empty bar presses.
- Mobility drills: Add shoulder rolls if overhead work is on deck.
Strategic Cool-Down and Flexibility Maintenance
After your last rep, don’t just bolt for the door. A good cool-down flushes out waste and eases tight spots. It fights delayed onset muscle soreness that can linger for days.
Spend 10 minutes on static stretches or foam rolling right after. Target hips, hamstrings, and calves where tension builds fast. Hold each stretch for 20-30 seconds without bouncing.
Try this routine:
- Roll your quads and IT bands for 2 minutes each.
- Stretch your chest open against a wall if you did pushes.
- Breathe deep to help your nervous system chill.
Prioritizing Sleep and Active Recovery Days
Your body fixes itself while you sleep, so aim for 7-9 hours a night. Poor rest messes with focus and slows reaction time in the gym. One study showed folks with less than 6 hours had twice the injury rate during lifts.
Mix in active recovery days with walks or yoga instead of full rest. This keeps you moving without overload. Track your sleep with an app to spot patterns that lead to fatigue.
- Sleep hacks: Cut screens an hour before bed and keep your room cool.
- Recovery moves: Swim lightly or do bodyweight flows on off days.
- Rest ratio: Take one full rest day per week, plus two active ones.
Important 2: Perfecting Form and Technique Execution
Form is your best defense against tweaks. Bad habits under load can lead to pulls or worse. Focus on cues that keep you aligned.
Progressive Overload vs. Ego Lifting
Build strength slow by adding weight or reps bit by bit. Ego lifting means grabbing too much too soon, which rounds your back or jerks your form. Hit technical failure—where form slips—before pushing to muscle burn.
Think of a deadlift: Hinge at the hips with a flat back for safety. If you round to lift more, you’re risking a strain. Start with 70% of your max and progress 5 pounds weekly.
- Spot ego: Ask a buddy to watch your sets.
- Track it: Log weights to avoid rash jumps.
- Mindset shift: Pride in perfect reps beats bragging rights.
Mastering Joint Bracing and Core Stability
Brace your core like you’re about to take a punch during heavy squats or presses. This shields your spine. The Valsalva maneuver—hold your breath briefly—adds intra-abdominal pressure for support on max efforts.
Build stability with anti-rotation moves like Pallof presses using a cable. Do 3 sets of 10 reps twice a week. Strong abs prevent twists that cause side strains.
Practice this:
- Inhale deep, then exhale while tightening your gut.
- Hold the brace through the lift’s tough part.
- Release slowly to avoid dizziness.
Understanding and Respecting Range of Motion (ROM)
Full ROM isn’t always king; adjust for your body to dodge impingement. For squats, stop above parallel if deep dips pinch your shoulders. A physical therapist might say tweak based on your hip structure.
Test your safe ROM with light sets first. Use boxes for partial squats if needed. This keeps joints happy and cuts overuse risk.
- Shoulder safe: Avoid behind-neck presses; go front instead.
- Knee check: Don’t lock out fully on leg presses if it hurts.
- Modify smart: Shorter ROM builds strength without pain.
Important 3: Smart Programming and Load Management
Plan your workouts like a roadmap to avoid burnout. Balance keeps overuse at bay. Steady progress trumps quick gains.
Implementing Deload Weeks Strategically
Every 6-12 weeks, dial back to let your body catch up. A deload cuts volume by 40-50% but keeps weights similar. It boosts supercompensation, where muscles rebound stronger.
For beginners, deload every 8 weeks; vets can stretch to 12. Feel fresher after? That’s the sign it works.
Sample protocol:
- Drop sets from 4 to 2 per exercise.
- Keep reps the same but ease intensity.
- Add extra mobility work to fill time.
Balancing Pushing Movements with Pulling Movements
Too many bench presses without rows lead to slouched posture and shoulder woes. Aim for a 2:1 pull-to-push ratio to even things out. Pulls strengthen your back for better stability.
Include rows, pull-ups, and face pulls in every upper body day. This fixes imbalances from desk life too. Studies show balanced programs drop shoulder injury rates by 25%.
- Push examples: Bench, dips, overhead press.
- Pull counters: Lat pulls, inverted rows, band pulls.
- Track ratio: Log to ensure pulls outnumber pushes.
Avoiding Sudden Jumps in Volume or Intensity
Ramp up slow—add no more than 10% weekly to sets, reps, or weight. Big leaps spike injury odds, like going from 3 to 6 squat sets overnight. Your tendons need time to adapt.
For runners in the gym, same rule: Boost mileage gradually. Listen if fatigue hits early.
Tip: Use a 4-week cycle—week 1 base, week 2 +5%, week 3 +10%, week 4 deload.
Important 4: Essential Equipment and Environmental Safety
Gear and space matter as much as your effort. Wrong shoes or loose bars can trip you up fast. Check everything before you start.
Selecting Footwear Appropriate for the Activity
Pick flats or minimalist shoes for lifts to feel the ground solid under squats. Cushy runners work for cardio but wobble on heavy barbells. Cross-trainers mix traits but often fail at stability.
Test: Stand in your shoes and squat; if ankles roll, switch. Proper base cuts ankle sprains by half.
- Lifting pick: Converse or weightlifting shoes with firm soles.
- Cardio choice: Shoes with good cushion for jumps or runs.
- Swap rule: Change pairs for different workouts.
Utilizing Support Gear Correctly (Belts, Sleeves, Wraps)
Belts help on heavy sets above 80% effort by cueing your brace. But don’t rely on them; master form belt-free first. Sleeves warm knees without masking pain.
Use wraps for knees on max squats, but loosen if they pinch. Gear aids, doesn’t replace skill.
Advice: Train 80% of sessions without support to build real strength.
Maintaining Equipment Integrity and Workspace Awareness
Clip collars tight on bars to stop plates sliding. Wiggle benches for wobbles before sitting. Scan for space—don’t curl next to someone swinging kettlebells.
Quick checks save hassle:
- Inspect cables for frays.
- Wipe sweat to avoid slips.
- Spot dynamic zones like drop areas.
Important 5: Listening to the Body and Seeking Expert Guidance
Your body whispers warnings; ignore them at your peril. Tune in to avoid small issues turning big. Pros can spot what you miss.
Differentiating Between Soreness, Stiffness, and Sharp Pain
Soreness feels like a dull ache after new moves—normal and fades in days. Stiffness is tight but eases with warmth. Sharp pain in joints? Stop now; it’s a red flag for tears or inflammation.
Rule: If it stabs on rep one, swap the exercise. Track pain in a journal to see patterns.
- Good ache: Muscle burn during sets.
- Bad sign: Pop or grind in movement.
- Rest it: Ice and elevate if unsure.
Recognizing Symptoms of Overtraining Syndrome
Watch for clues like a high morning heart rate or nagging colds. Plateaus where lifts stall signal overload too. Mood swings or sleep issues pile on.
Catch it early: Take a full week off if three signs hit. Hydrate and eat well to fight back.
Common flags:
- Constant tiredness despite rest.
- Weaker grips or slower recovery.
- Irritable vibes outside the gym.
When to Consult a Professional (PT, Coach, or Physician)
Seek help if pain sticks past 48 hours or feels unstable. A PT assesses form flaws; a coach tweaks programs. Docs rule out breaks for swelling or pops.
Don’t wait—early fixes prevent surgery. Find certified pros through gym referrals.
Thresholds:
- Persistent tweak after mod.
- Numbness or weakness.
- Fear during routine lifts.
Conclusion: Building a Foundation for Longevity
Safe training boils down to prep like warm-ups and sleep, solid form with bracing and ROM respect, smart plans via deloads and balance, right gear choices, and body awareness to spot pain early. These 20 ways— from dynamic stretches to pro consults—arm you against common pitfalls.
Apply them one by one for workouts that last. Consistency with safety wins over short bursts of intensity. Train smart today, and you’ll crush goals for years.
Please note this article is for informational purposes only; it is always a good idea to hire a fitness trainer for the first few months to correct your posture and get proper guidance.