How Scooter Weight Spec Affects Handling — What the Numbers Don’t Tell You
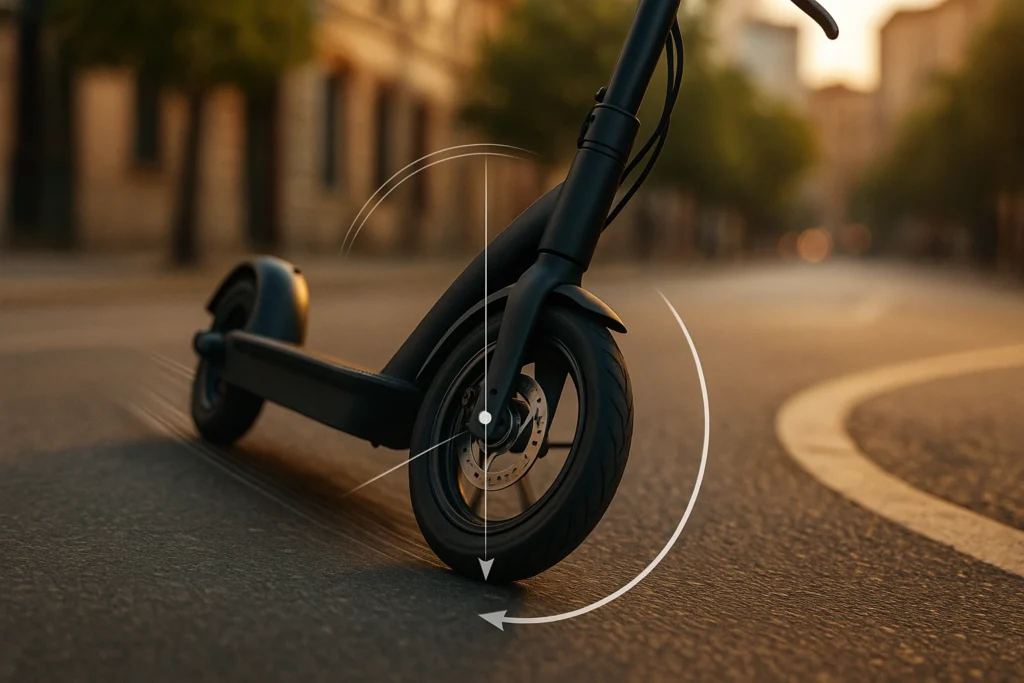
Most riders glance at a scooter’s weight and assume lighter is always better. Yet scooter weight only hints at how the machine will steer, brake, and feel on real streets. For quick orientation, compare how makers list parts inside Electric Scooters Specifications and read fundamentals in Electric Scooter Guides. With that context, this article explains what the number can’t show—and how to tune handling with simple steps.
Why the Weight Number Alone Misleads
The catalog figure is a spec weight: the scooter as shipped, battery included, nothing else. It ignores your payload—rider, clothing, helmet, lock, charger, water, and backpack. Those items change how the scooter accelerates, turns, and stops. Two models may both list 45 lb (20.4 kg) yet ride differently if one hides battery mass low in the deck while the other stacks cells higher in the stem. The spec also hides unsprung and rotational portions that dramatically affect comfort and agility. Treat the number as a starting point, not a verdict.
What Scooter Weight Really Means (Plain English)
Curb weight: The scooter as you actually ride it, accessories installed.
Payload: You and your gear.
Gross weight: Curb + payload; the key number for braking, bearings, and tires.
Sprung mass: Deck, frame, battery, stem—and you.
Unsprung mass: Wheels, tires, rotors, calipers, lower fork parts.
Rotational mass: Spinning parts (tires, tubes, rims, hub motors, rotors).
Simple physics.
Heavier systems have more inertia, which smooths small inputs yet slows turn-in. Under braking, weight transfer shifts load forward. More gross weight means a larger absolute surge at the front tire, which may push it toward its limit earlier on dusty or wet pavement. More load can enlarge the contact patch, but grip does not scale one-to-one with weight.
Table 1: Weight Term → What It Includes → Why It Matters
| Weight Term | What It Includes | Why It Matters |
|---|---|---|
| Spec Weight | Listed scooter, battery installed | Shopping baseline; often omits real add-ons |
| Curb Weight | Scooter as ridden with accessories | Predicts carry effort and daily feel |
| Payload | Rider + clothing + bag + lock + water | Ensures safe limits; impacts fatigue and range |
| Gross Weight | Curb + payload | Drives braking loads, tire choice, bearing stress |
| Sprung Mass | Frame/deck/battery/rider | Governs overall stability and big-bump behavior |
| Unsprung Mass | Wheels/tires/rotors/calipers | Controls small-bump comfort and chatter |
| Rotational Mass | Tires/tubes/rims/hub motors/rotors | Strongly affects acceleration and steering quickness |
| Distribution (CG) | Where pounds sit fore/aft and high/low | Alters turn-in, straight-line calm, and brake balance |
Where the Pounds Live Matters (Distribution & CG)
Battery placement. Deck packs lower center of gravity (CG) and split mass between axles. Turn-in is measured, and stability improves at speed. Stem packs raise CG and shift mass forward. Turn-in feels lively, yet bumps at lean can unsettle the front if pressure is high.
Frame layout. A longer deck and wheelbase put your stance farther apart and the CG closer to midpoint. Transitions slow slightly, but tracking improves. Short decks pivot quickly at low speed yet may grow nervous above 20–25 mph (32–40 km/h) on coarse pavement.
Motor location. A front hub adds unsprung and rotational mass up front. It launches hard, but the tire works harder over sharp edges. A rear motor stabilizes under throttle and moves some load off the steering end. Either location changes bar feel.
CG height & balance. Lower CG softens pitch and reduces transfer surges. Higher CG speeds lean transitions but amplifies dive under braking. Front-heavy setups carve predictably yet can overload the front tire in panic stops; rear-heavy setups track straight but may push wide in tight corners.
Unsprung & Rotational Mass
Unsprung mass hits the bump first. Heavier wheels carry more energy into potholes, making chatter worse and reducing small-bump grip. Rotational mass multiplies the penalty because spinning parts resist speed and direction changes. Adding 10–12 oz (280–340 g) per tire for puncture protection can slow flicks and increase arm effort. Balance protection with responsiveness; pressures within the safe range can restore feel without inviting flats.
Handling by Speed Zone
Low-speed (to 10 mph / 16 km/h). Steering inertia dominates. A heavy front wheel needs more input for a clean U-turn. A centered, low CG helps pivot without over-steer.
Mid-speed (10–20 mph / 16–32 km/h). Stem stiffness, wheelbase, and scooter weight define confidence. Heavier scooters track straighter in light gusts—if the fold clamp and headset are tight. Any looseness turns mass into wobble.
High-speed (20–30+ mph / 32–48+ km/h). Mass can calm weave on smooth straights, but poor geometry or a loose clamp converts it into shimmy. Check tire balance, clamp tension, and bearing preload before blaming the scale.
Braking, Tires & Weight Transfer
Under braking, load surges forward. With more gross weight, that surge is larger. Early in the squeeze, the front patch grows and bite improves; soon after, on dusty or wet surfaces, the tire can reach its limit. If you grab abruptly, the rear may go light or hop.
Technique. Roll into the lever for the first half second, then add pressure progressively as the contact patch stabilizes. Slide your hips back and low; keep elbows soft and heels down. This posture lengthens the lever arm to the rear axle and blunts rear lift.
Pressure. Many 10-inch commuters feel good around 40–45 psi (2.75–3.1 bar) for a 170–190 lb (77–86 kg) rider. Adjust ±3 psi for temperature, cargo, and surface. Too much pressure shrinks the patch; too little risks rim strikes and squirm.
Ride Comfort & Fatigue
More mass can damp high-frequency buzz, keeping hands and feet calmer on coarse chip seal. Yet heavy wheels still pass impact through. Comfort rests on a triangle: wheel mass, tire casing, and pressure. Also remember the human factor: you must carry the scooter. If you lift it daily, shaving 5 lb (2.3 kg) matters more than a tiny speed gain. Fit bars so elbows stay slightly bent and wrists neutral; deck height and reach shape fatigue as much as weight.
Portability vs Stability Trade-Offs
You rarely get feather-light and rock-solid in one package.
- Portability first. Choose lower scooter weight, compact frames, and precise clamps. Accept a bit more nervousness at 20+ mph (32+ km/h) and tame it with pressure tuning and bar fit.
- Stability first. Accept more mass for battery capacity, deck length, and a stout stem. Keep accessories low and the handlebar uncluttered to preserve agility.
- Hybrid. Pick mid-weight and tune: lock on the deck, clear the bar, accurate pressures, and routine clamp checks.
Setup Tweaks That Help
- Tire pressure windows. Start mid-range; adjust in 1–3 psi steps. Heat and altitude move psi, so recheck monthly.
- Stance & bar height. Staggered feet, 20–30° front foot angle, soft elbows. Set bars so you steer from shoulders and core, not wrists.
- Load placement. Keep locks, chargers, and tools low and central. Avoid heavy bags on the bar; they add pendulum effect.
- Braking technique. On rough surfaces, introduce a touch of rear first to settle the chassis, then build front pressure.
- Clamp precision. Tighten the fold mechanism and set headset preload. A tight front end makes even a heavy scooter feel precise.
Table 3: Common Add-Ons → Where the Weight Sits → Handling Impact
| Add-On | Where the Weight Sits | Handling Impact |
|---|---|---|
| U-lock / chain | Often bar or stem | High placement slows steering; mount low if possible |
| Phone mount + power bank | High on bar | Small pendulum effect; keep mass minimal |
| Seat kit | Mid-high, usually rear | Raises CG; comfort up, brake balance shifts |
| Big fast charger | Backpack or deck bag | Adds payload; fatigue more than steering |
| Suspension seatpost | Mid, above deck | Higher CG; better chatter control |
| Tubeless conversion | At the wheels | Fewer flats; changes rotational feel |
| Wider tires | At the wheels | Grip up; steering heavier and firmer over bumps |
From Spec Sheet to Street (Quick Math)
Effective mass (lb) = scooter (lb) + rider (lb) + carried items (lb).
Example: 42 + 185 + 8 = 235 lb (107 kg). Use this for braking expectations and pressure choices.
Weight transfer (trend only).
ΔW ≈ (m × a × h) / L. Higher CG h and harder braking a increase front-axle load; longer wheelbase L reduces it.
Rotational penalty.
A pound at the rim feels like several on the deck because it must spin and steer. If agility matters, save grams at the wheels first.
Braking feel.
More gross weight → more front load surge → earlier front-tire limits on poor surfaces. Modulate sooner; consider a slightly wider front casing if allowed.
10-Minute Handling Test Loop
Build a repeatable route and change one variable at a time.
- Tight U-turn (parking stripe). Good: smooth arc, steady bar pressure. Needs work: reluctant entry, sudden tip or wiggle.
- Rough asphalt segment. Good: buzz muted, line holds. Needs work: chatter, deflection, harsh spikes.
- Moderate hill (7–8%). Good: tracks straight at steady throttle. Needs work: weave or oscillation.
- Emergency stop box (50 ft / 15 m). Good: straight, progressive decel, modest dive. Needs work: rear hop, howl, or abrupt lock.
- Hands-light cruise (15–18 mph / 24–29 km/h). Good: tracks straight. Needs work: slow shimmy or drift.
Record pressures, bar height, bag placement, and clamp tension each pass.
Troubleshooting Symptoms (Decision Tree)
Start simple: pressures and clamp tightness. Move weight low. Adjust bar height and stance. Then address tires.
Table 2: Symptom → Likely Cause (Weight-Related) → Quick Fix → Next Step
| Symptom | Likely Cause | Quick Fix | Next Step |
|---|---|---|---|
| Slow turn-in | Heavy front rotational mass; bar load | Clear the bar; tweak front psi | Lighter tire/tube; wider stance |
| Bar shake at cruise | Loose clamp/headset; mass high | Tighten clamp; lower the load | Balance wheels; inspect wear |
| Nose-dive braking | High CG; abrupt squeeze | Hips back; progressive lever build | +2–3 psi front; wider casing |
| Rear skitter braking | Low rear load; rear psi too high | Shift bag aft; drop rear psi | Higher-traction rear casing |
| Harsh buzz on bumps | High unsprung mass; overinflation | Reduce 2–3 psi; remove wheel add-ons | Lighter tube/tire; rethink rotor |
| Front pushes wide | Rear-biased balance; low front psi | Add front psi; stand slightly forward | Slightly wider bars |
| Nervous in crosswinds | High CG; heavy bar bag | Lower the load; bend elbows | Steering damper if supported |
| Forearm fatigue | Bars too high; heavy steering inertia | Lower bars; clear bar of weight | Narrow bars; better grips |
FAQs
Q1: Why can a heavier scooter feel more stable?
Inertia resists quick changes, so small inputs and gusts have less effect. However, turn-in slows and stops can lengthen on poor surfaces.
Q2: How does rider weight change handling?
It raises gross weight and increases forward transfer under braking. Adjust tire pressures and refine lever modulation to keep grip and comfort.
Q3: Is a low center of gravity always better?
Usually yes, for stability and comfort. Still, very low decks can scrape on curbs and steep driveways. Match CG to your routes.
Q4: Does unsprung mass matter on rigid scooters?
Yes. Wheels hit bumps first. Heavier wheels pass more impact and reduce small-bump traction.
Q5: What pressures should I run?
Stay within the tire’s range. Many 10-inch commuters ride well around 40–45 psi (2.75–3.1 bar) for a 170–190 lb (77–86 kg) rider. Adjust for weather and cargo.
Q6: How is rotational mass different from regular weight?
It spins. Because it must accelerate and steer, a little extra at the wheel feels like more than the same weight on the deck.
Q7: What does the scooter weight spec leave out?
Rider and gear, plus where mass sits and how much of it spins. Those details decide how the scooter actually feels.
Q8: When should I change tires for handling?
If you fight shake, push wide, or feel harsh buzz at correct pressures, try a different casing or width the manual allows.
Glossary (Plain English)
Sprung mass: Parts supported by suspension or above the axles, including you.
Unsprung mass: Wheels, tires, rotors, and lower fork sections that meet bumps first.
Rotational mass: Spinning parts—tires, tubes, rims, hub motors, rotors.
Center of gravity (CG): Point where weight effectively acts.
Wheelbase: Distance between axle centers; longer adds straight-line calm.
Rake: Fork angle from vertical; more rake can add stability.
Trail: Distance the patch trails the steering axis; adds self-centering.
Contact patch: The small area where rubber meets road.
Momentum: Tendency for a moving mass to keep moving.
Weight transfer: Load shift front/rear during braking or acceleration.
Preload: Initial spring force; sets ride height and sag if adjustable.
Sag: How much suspension settles under static load.
Shimmy: Rapid handlebar oscillation from looseness or imbalance.
Headset preload: Bearing tension at the steering; too loose invites wobble.
Printable Handling Checklist
- Check cold tire pressures; note ambient temperature.
- Confirm fold clamp tightness and headset preload.
- Move heavy items low and central; clear the handlebar.
- Set bar height for soft elbows and neutral wrists.
- Stagger feet; front foot angled 20–30°; knees slightly bent.
- Run the 10-minute loop: U-turn, rough patch, hill, stop box, hands-light cruise.
- Mark each station good / needs work with a one-line note.
- Change one variable (pressure, load placement, bar height, clamp).
- Rerun and compare; keep the better setting.
- Inspect tires, rotors, and bolts monthly; recheck pressures after big weather swings.
- Follow the owner’s manual for payload, pressures, and maintenance.