Avoid These 9 Common DTF Transfer Mistakes (And What to Do Instead)
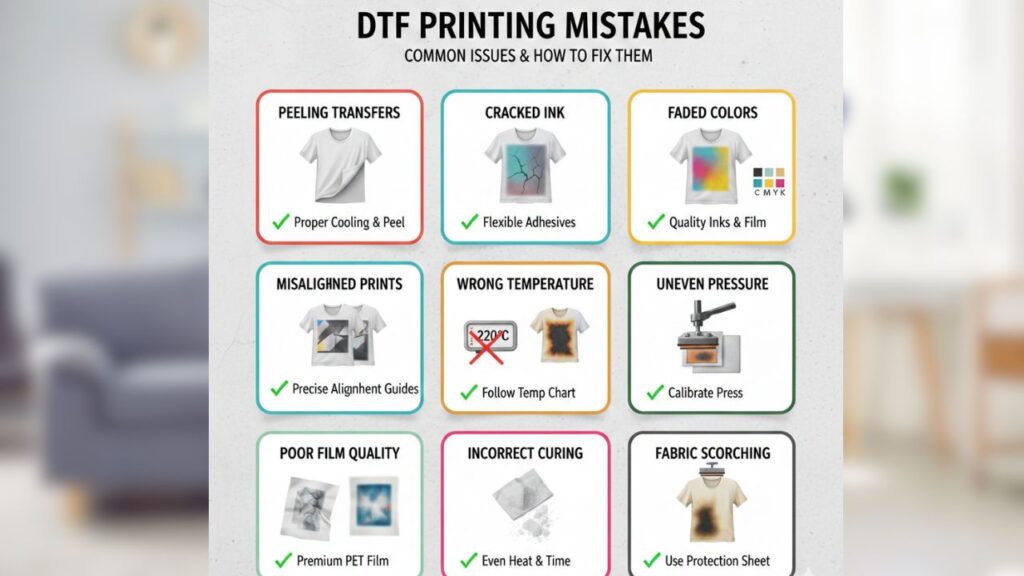
Even experienced printers run into problems with direct-to-film (DTF) transfers. A small issue in your artwork setup, gang sheet spacing, or heat press technique can quickly turn into wasted materials and disappointing results.
Below are nine common DTF mistakes and the exact steps you can take to fix them. If you need supplies or want to streamline your workflow, explore the DTF transfer collection, use a gang sheet builder, or visit DTFDallas.com for resources and support.
Mistake 1: Using Low-Resolution Artwork or the Wrong File Type
Low-resolution graphics are one of the fastest ways to end up with blurry, pixelated prints. If your file isn’t set up correctly, fine lines can break down and details won’t transfer cleanly.
What to do instead:
Design at 300 DPI and export as a PNG with a transparent background. If possible, use vector artwork for logos and text so edges remain sharp. Also make sure thin lines are at least 0.5 mm thick to avoid losing details during printing.
Mistake 2: Packing Designs Too Tightly on a Gang Sheet
Crowding designs onto one gang sheet might look efficient, but it often creates cutting problems. Tight spacing increases the chances of accidentally trimming into the next design or damaging edges.
What to do instead:
Leave a small margin around every design so cutting is easier and safer. A good gang sheet builder helps you align artwork neatly and maintain consistent spacing without guesswork.
Mistake 3: Using Incorrect Heat Press Temperature or Time
Wrong heat press settings can cause peeling, weak adhesion, or scorching—especially if you’re switching between garment types.
What to do instead:
Follow the recommended settings for your transfers and garments. As a general guide, many cotton blends press around 282°F for 9 seconds, while some synthetics may require shorter times (around 6 seconds). Use an infrared thermometer to confirm your press is holding a consistent temperature across the platen.
Mistake 4: Peeling the Film Too Early (Or Waiting Too Long)
Timing matters. Peel too early and the design can lift. Peel too late and you risk tearing, stretching, or pulling uneven edges.
What to do instead:
Use a consistent peel method (hot, cold, or hybrid) based on the transfer instructions. A common approach is a hybrid peel: peel in one smooth, continuous motion either while the film is still warm or after a short cool-down—whichever your transfer type supports.
Mistake 5: Skipping the Second Press
A lot of printers stop after peeling, but that final press is what helps lock the print into the fabric and improves durability.
What to do instead:
After peeling, cover the print with parchment (or a finishing sheet) and press again for about 5 seconds. This improves wash resistance and gives the design a cleaner finish.
Mistake 6: Washing the Garment Too Soon
Even if the print looks perfect, washing too early can damage the adhesive before it fully cures.
What to do instead:
Wait at least 24 hours before the first wash. Recommend customers wash garments inside-out using cold water, and avoid harsh detergents or high heat drying for longer print life.
Mistake 7: Storing Transfers Improperly
Humidity, heat, or poor storage can weaken adhesive and impact print quality over time.
What to do instead:
Store transfers in a cool, dry place away from heat and moisture. With proper storage, many transfers can remain usable for long periods (often up to 1–2 years depending on material and environment).
Mistake 8: Choosing the Wrong Transfer Size
Sizing affects how professional the final shirt looks. A design that’s too small can look awkward, while a design that’s too large may feel overwhelming or sit incorrectly on the garment.
What to do instead:
Use reliable size guidelines such as:
- 3×3 inches for pocket / left chest prints
- 11×11 inches for standard front designs
- 11×17 inches for oversized graphics
Test placements on blank garments if you’re unsure, especially for new shirt styles or sizes.
Mistake 9: Not Getting Feedback or Support When You Need It
Many printing issues are preventable with a quick file check or press-setting adjustment—but people often lose time trying to solve everything alone.
What to do instead:
If you’re stuck, get a second set of eyes on your artwork and setup. Support teams can often identify issues before you print, saving you film, ink, and shirts. For help, resources, and ordering, visit DTFDallas.com.
Conclusion
Avoiding these common DTF transfer mistakes saves time, materials, and frustration. With better file setup, proper spacing, accurate press settings, and correct aftercare, you’ll consistently produce clean, durable prints that keep customers happy.
To improve workflow and get consistent results, browse the DTF transfer collection, build layouts using a gang sheet builder, and explore tools and support at DTFDallas.com