Guide to Rebuilding RAID 5 without Losing Data
This guide provides you with the necessary knowledge and steps to rebuild a degraded RAID array while minimizing the risk of data loss. We will discuss the general recovery process and specific solutions for different RAID configurations and provide crucial tips for successful data retrieval.
Before attempting any recovery, it is crucial to prioritize data security. We recommend creating a complete backup of the RAID using dedicated backup software if possible. If the data is critical and you lack the technical expertise or comfort level, consider seeking assistance from professional data recovery in Melbourne. Their expertise can significantly increase your chances of complete data restoration.
Rebuilding a Degraded RAID: A Step-by-Step Guide
Before you begin:
- Get organized: Label your drives, cables, and ports to avoid any confusion during the process.
- Identify the problem: Use your RAID monitoring software to understand what’s wrong with your array. This will help you choose the right next steps.
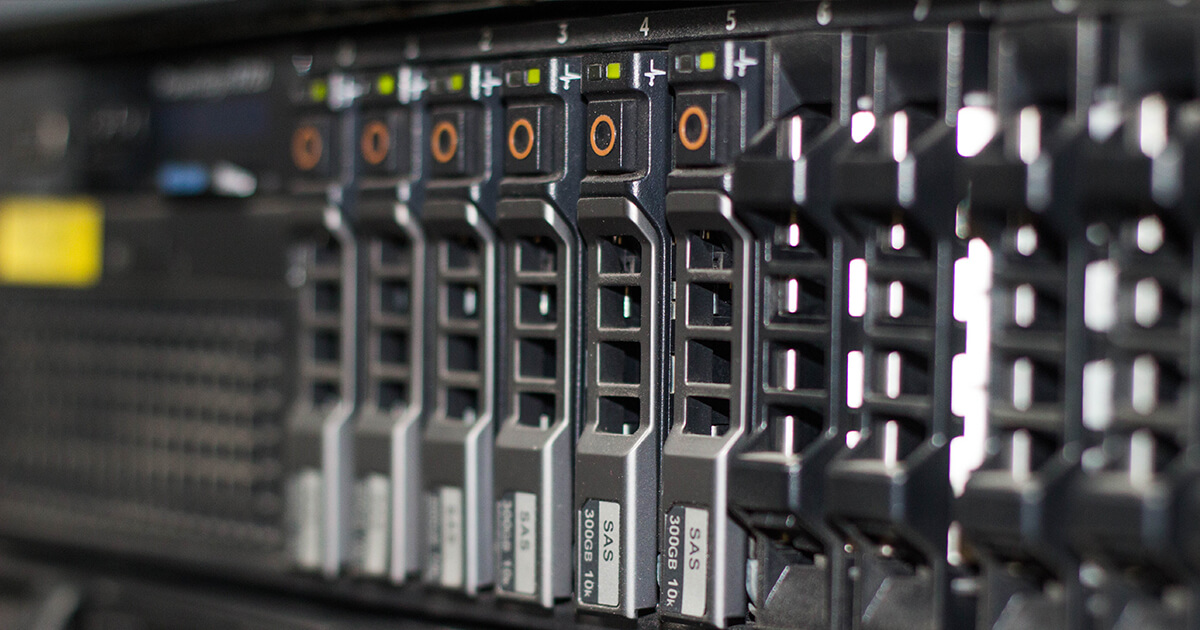
Disconnecting and preparing the drives:
- Safely disconnect: Carefully disconnect the drives from your RAID controller to prevent data corruption.
- Connect to a new controller: Attach the individual drives to a separate controller that can recognize them as separate disks. This allows for software-based recovery.
Recovering array details:
Employ specialized RAID recovery software to retrieve information like stripe size, block size, and parity information. This data is crucial for rebuilding the array.
Rebuilding the array:
- Follow instructions carefully: Refer to your RAID controller’s manual or software interface for specific instructions on rebuilding the array using the recovered information.
- Double-check everything: Be extremely cautious about the order of the disks. Incorrect order can lead to permanent data loss.
Writing data to the new array:
- Hardware RAID: For hardware RAID setups, write the array to a new disk and try mounting it within your operating system.
- Complex situations: Consider building a temporary software-based RAID array for efficient data transfer in complex scenarios.
- Important note: Never write data directly to the original member disks of the degraded array. This can overwrite valuable data and hinder recovery.
Verifying and recovering data:
- Check data integrity: Once the data is transferred to a safe location, carefully verify its integrity by opening large files and checking for any inconsistencies.
- Rebuild and copy data: Rebuild the original RAID array using the recovered information and copy the verified data back onto the newly rebuilt array.
Recovery by Specific RAID Configuration
RAID (Redundant Array of Inexpensive Disks) stores data on multiple hard drives that offer performance and redundancy benefits. There are several types of RAID configurations, each with its unique characteristics.
RAID 0
Although RAID 0 provides performance benefits, it has a major drawback in that it suffers complete data loss upon a single drive failure. In such scenarios, it is recommended to hire raid data recovery services due to the complexity of the process.
RAID 1
This configuration offers excellent fault tolerance through disk mirroring, which means that data is written to two drives simultaneously. Rebuilding is possible even after a single drive failure, making it a more resilient option for data protection.
RAID 5
With striping and parity, RAID 5 offers a balance between performance and redundancy. It can tolerate one failed drive with proper recovery procedures in place.
RAID 6
Similar to RAID 5, RAID 6 employs double parity, allowing it to survive two concurrent drive failures. Although recovery is complex, it is often achievable with specialized tools and expertise.
RAID 10 (0+1)
RAID 10 combines mirroring and striping, offering both speed and redundancy. It can withstand single and, in some cases, even multiple drive failures, making it a highly reliable option.
What to Know When One Fails
Rebuilding a RAID array after a drive failure can be stressful, but understanding the process can help you navigate it smoothly. Here’s the scoop:
Time to rebuild: This can vary greatly depending on the size of your data and the type of RAID setup. Smaller arrays might be up and running again in a few hours, while larger ones could take over a day.
Don’t pull out multiple drives at once! This can make things much more complicated when it comes to recovery.
Heed the warnings: If your system throws up warnings about RAID failures, don’t ignore them! Addressing them quickly can prevent further damage and data loss.
Knowing the specifics of your RAID configuration can significantly improve your chances of successfully recovering data after a drive failure. If you’re unsure about anything, don’t hesitate to seek professional help. They’ll have the expertise to ensure the best possible chance of complete data recovery.