How to Change Your Router’s SSID and Password Using the Admin Interface
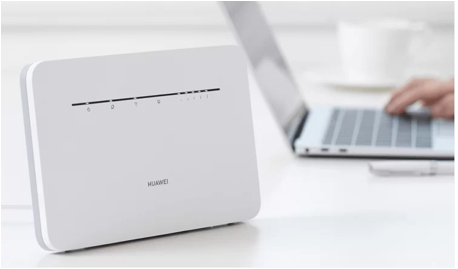
Your SSID (Service Set Identifier) is the public name of your Wi-Fi network, and the password ensures that only authorized users can connect. Changing these settings is essential for security and personalizing your network. Fortunately, accessing the admin interface and modifying these details is a simple process. Below, we walk through the steps to efficiently change your router’s SSID and password.
Steps to Change Your Router’s SSID and Password
To guide you through this process, we’ll outline each step to ensure a smooth transition to your updated Wi-Fi settings.
1. Connect to the Router
First, ensure your device is connected to the router via Wi-Fi or Ethernet cable. A wired connection is recommended for this process to avoid disruptions while making changes to the router’s settings.
2. Log in to the Admin Interface
Open any web browser and input the default IP address of your router into the address bar. In most cases, this address will be 192.168.1.1 or 192.168 l00 1 tp-link for TP-Link devices. Press Enter, and the router’s login page will appear. If the page doesn’t load, double-check that your device is properly connected to the router.
3. Enter the Admin Credentials
On the login screen, enter the username and password for your router. For many routers, the default credentials are typically “admin” for both fields. If you’ve previously changed the login credentials and can’t recall them, performing a factory reset might be necessary to restore the router to its default settings.

4. Navigate to Wireless Settings
Once inside the admin interface, find the Wireless Settings section. Depending on your router brand, it might be listed under Basic Settings or Wireless Configuration. For dual-band routers, ensure you select the correct frequency band—2.4GHz or 5GHz—if you plan to set different SSIDs and passwords for each.
5. Change the SSID (Network Name)
In the SSID field, enter the new network name you wish to use. Choose a name that is easy to recognize but doesn’t reveal personal information. This will help you and others easily identify your network among nearby Wi-Fi options. Be sure to Save any changes made to ensure they take effect.
6. Update the Wi-Fi Password
Below the SSID field, you’ll find the password or security key section. Select WPA2-PSK or WPA3 as the encryption standard for the best security. Enter a strong password—using a mix of letters, numbers, and special characters—to protect your network from unauthorized access. Avoid using easily guessable passwords like “password123” or your phone number.
7. Apply and Reboot
After updating both the SSID and password, click Save or Apply. Some routers will automatically reboot, while others may require you to manually restart the device for the changes to take effect. Your network will temporarily disconnect during the reboot, so reconnect once the router restarts using the new SSID and password.
8. Reconnect Devices to the New Network
After the router restarts, search for the new network name (SSID) on your devices and connect using the updated password. You may need to forget the old network from your device’s settings to avoid connection issues. Remember to reconnect all previously connected devices, such as smart TVs, smartphones, and laptops, to the new network.
9. Troubleshoot Login or Connectivity Issues
If you encounter issues during the process—such as being unable to log in or connect after the changes—ensure you’re using the correct IP address (e.g., 192.168.100.1 for tp-link routers) and that your device is connected to the network. If problems persist, restarting both the router and your device often resolves the issue.
Conclusion
Changing your router’s SSID and password using the admin interface is a crucial step in maintaining network security and personalizing your Wi-Fi experience. With the correct IP address, you can easily log in, modify settings, and secure your network. Following these steps ensures that your network stays protected while providing a smooth experience for all connected devices.