How to Create a Professional Photo for LinkedIn, Social Media, or Your Personal Website at Home
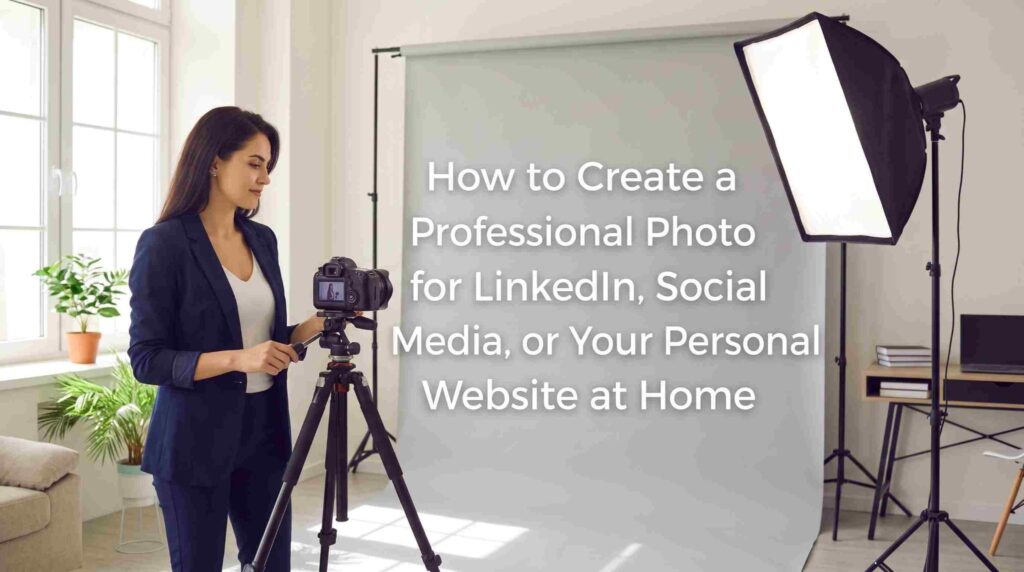
The Reality of Modern Professional Photos
Most professionals put off getting a new photo. You wait until your LinkedIn profile looks five years out of date or a conference organizer asks for a headshot you do not have on hand. Studio sessions are expensive and take time to schedule. If you are job hunting or launching a personal website, you probably want this checked off your list today.
Smartphone cameras and modern editing software make it entirely possible to get a high quality result in your own living room. You do not need to be a photographer. You just need to understand basic lighting, how to position the camera, and how to use a few digital tools to clean up the final image.
Setting Up Your Shot
Lighting dictates the quality of your photo. You don’t need to buy ring lights or softboxes. You really just need a large window. Find a room with good natural light and stand facing the window so the light hits your face evenly. Avoid standing with the window directly behind you because the camera will compensate for the bright background and turn you into a dark silhouette.
Overcast days are actually the best times to shoot. Direct sunlight casts harsh shadows under your nose and eyes. Cloud cover diffuses the light and creates a soft, even look across your face.
Next, prepare your camera. Always use the back lens of your phone. It has a significantly larger sensor and better resolution than the front selfie camera. Prop the phone up on a tripod or a sturdy stack of books on a shelf.
The lens needs to sit exactly at eye level. If the camera points up at your chin, you look physically imposing and intimidating. If it points down at you, you look small. Getting the camera perfectly level with your eyes establishes a direct, professional connection with whoever looks at your profile.
Getting Your Look Right
What you wear matters just as much as how you light the room. Stick to solid colors. Navy, charcoal, emerald green, and deep burgundy work exceptionally well on digital screens. Avoid tight grid patterns, houndstooth, or thin stripes. These patterns can create a distracting visual distortion on computer monitors called a moire effect.
Make sure your shirt or jacket is ironed. High resolution smartphone cameras pick up wrinkles and lint that you might not even notice in the bathroom mirror.
Hair and facial hair also require some attention before you start taking photos. If you are unsure about your current style or wondering if you should trim your beard for the picture, you can test different looks digitally first. Running a recent photo through a grooming visualization online can give you a quick preview of how a clean shave or a different part will translate on camera. It is a smart way to check your options before making a drastic haircut decision right before you update your public profiles.
Taking the Photo
Take a lot of photos. Most of them will look terrible. That is completely normal.
Turn on your phone’s burst mode or use a cheap Bluetooth remote. This allows you to take dozens of shots without constantly walking back and forth to reset the timer. Once you are in position, press and hold the screen over your face to lock the focus and exposure. This stops the camera from shifting the lighting every time you move your shoulders.
You also need to manage your posture. Photographers use a trick called the turtle to define the jawline. Bring your forehead slightly forward toward the camera and tilt your chin down just a fraction of an inch. It feels ridiculous and entirely unnatural in the room, but it looks sharp and confident on camera.
Vary your expressions as you shoot. Take a few with a full smile. Take some with a closed mouth smile. Try a few where you look serious and approachable. Shift your weight from one foot to the other. Small movements change the angle of your face and how the window light hits your cheekbones. Review the first batch to check the focus, adjust your posture if you look stiff, and shoot another round.
Fixing the Environment Post Capture
Not everyone has a curated home office with an aesthetically pleasing bookshelf to use as a background. You might be shooting this in your kitchen or standing against a cluttered bedroom wall. Don’t stress about the environment during the shoot. Focus entirely on getting the lighting on your face right. You can fix the rest later.
Once you have a photo where you like your expression, you can swap out the setting. Running the image through a background remover online makes it incredibly easy to cut out your kitchen cabinets and replace them with a clean slate.
Solid colors are usually the safest choice for a professional context. Light gray, soft slate, or a muted blue work well. You can also drop in a subtly blurred office background if you want it to look like you are sitting in a corporate boardroom. The key is to keep the replacement background understated. It should never distract the viewer from your face.
Refining with Software

Sometimes you just cannot get the lighting right. You might not have a suit that fits well at the moment, or maybe you need a corporate photo by the end of the day and you are stuck in a hotel room with terrible yellow lamps. I’ve seen plenty of people waste hours trying to force a bad location to work.
In these situations, you can lean on software to do the heavy lifting. Uploading a few casual selfies to a headshot generator online can produce remarkably good results when you are short on time. These systems can put you in a tailored jacket, adjust the virtual studio lighting on your face, and upscale the resolution.
It’s a very practical backup plan if the DIY photo shoot does not pan out. Just review the generated images closely to ensure the eye color, teeth, and facial structure look exactly like you. You want to look like yourself on a good day, not a plastic version of yourself.
Final Checks Before Uploading
Properly cut-out the picture before uploading it anywhere. The picture should be a professional profile picture that displays you from the chest up. The face should fill about 60 percent of the frame. When cropped too close, you’ll appear with a disproportionately oversized face. When you zoom out to a big picture of your torso, nobody will be able to recognize you in a square silhouette as a LinkedIn profile.
Save the final image as a high quality JPEG or PNG. Keep the file name professional. Rename files instead of putting random numbers in the file name; put your first and last name in the file name. It’s a small thing, but sometimes the event organizer or client will download your photo to create a program for a conference. A better appearance if labeled properly on their desktop.
Lastly, take the photograph and show it on your cell phone and on a screen at home. The brightness of the screen is far from consistent. If the photo appears a little dark on your computer screen, increase the exposure a little in your phone’s built-in photo editor and re-upload the image.