How Roof Contractors Deal with Roof Inspections in 2026
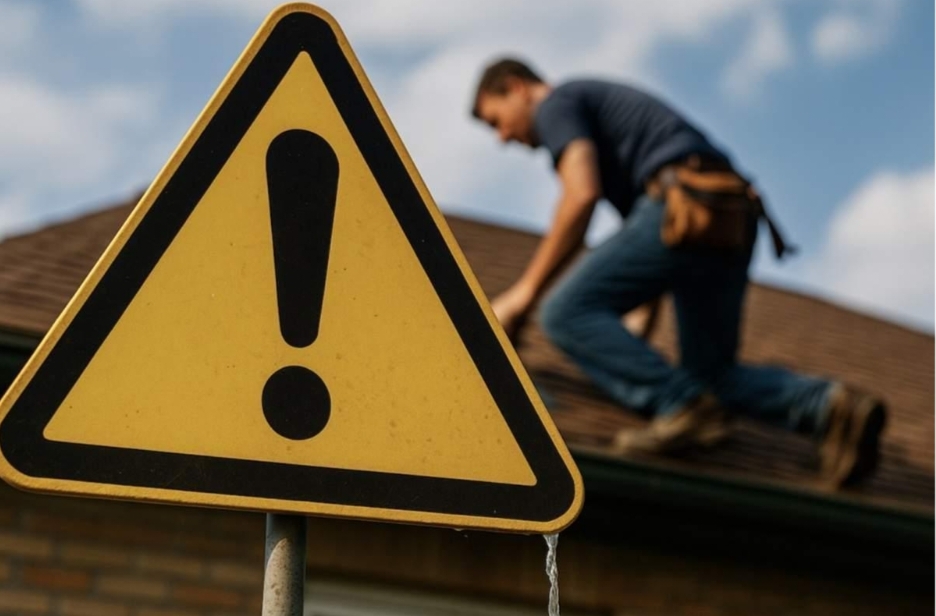
A roof inspection is one of the simplest ways to prevent expensive surprises. In 2026, professional roof contractors don’t just “take a look” from the ground—they follow a structured process to spot early warning signs, document risks, and recommend the most cost-effective next steps.
If you understand how contractors inspect a roof, you can ask better questions, compare quotes more confidently, and plan maintenance before small issues become major repairs.
1) Pre-inspection planning
Before anyone climbs a ladder, contractors usually collect basic context so the inspection is accurate and efficient:
- Roof age and material type (asphalt shingles, metal, tile, flat roof membrane, etc.)
- Past repairs and recurring issues (leaks, storm damage, flashing problems)
- Recent weather events (windstorms, hail, heavy rain, freeze/thaw cycles)
- Surrounding conditions (trees overhanging, shaded areas, debris buildup)
This first step helps the contractor focus on high-risk areas that commonly fail on roofs similar to yours.
2) Exterior visual inspection
A visual inspection is where most obvious roof issues show up. Contractors check:
Roofing surface condition
- Missing, cracked, curled, or blistered shingles
- Granule loss and exposed asphalt
- Rust, dents, or loose fasteners on metal roofs
- Damaged tiles or lifted sections
Flashing and penetrations
They pay special attention to places where roofs are most likely to leak:
- Chimneys
- Skylights
- Vents and exhaust pipes
- Roof-to-wall transitions
- Valleys (where water channels down)
Contractors often take photos as they go so homeowners can see exactly what’s happening.
3) Leak and moisture detection
In 2026, contractors increasingly treat leak detection as both an exterior and interior job.
Inside the home (attic and ceilings)
They look for:
- Water stains or discoloration
- Mold or musty odors
- Damp insulation
- Wood rot on framing or sheathing
Outside leak points
They focus on:
- Split shingles or punctures
- Failed sealant around flashing
- Cracked vent boots
- Areas where debris traps moisture
Catching moisture early is one of the biggest ways a roof inspection saves money.
4) Roofing materials and underlayment review
A roof can look “fine” on top but still fail underneath. Contractors assess whether the roofing system is aging evenly or developing weak spots.
They may look for:
- Soft areas that suggest rotted decking
- Exposed underlayment
- Signs the roof has been layered too many times
- Poor fastening patterns or installation flaws
This step is especially important if your roof is nearing the end of its expected lifespan.
5) Gutters and drainage evaluation
Drainage problems can destroy a roof over time—even if the shingles are still good.
Contractors check:
- Clogged gutters and downspouts
- Improper slope or sagging sections
- Detached fasteners and rust
- Signs of overflow (water marks, fascia rot, pooling areas)
Good drainage protects your roof, walls, and foundation—so it’s always part of a proper inspection.
6) Ventilation and attic airflow check
Ventilation is a hidden factor that strongly affects roof longevity. Contractors evaluate:
- Soffit vents
- Ridge vents
- Roof vents and attic fans
- Airflow balance (intake vs exhaust)
Poor ventilation can cause:
- Heat buildup that accelerates shingle aging
- Moisture that leads to mold and wood rot
- Ice dams in colder months
- Higher energy bills
A contractor’s ventilation recommendations can often improve both roof performance and indoor comfort.
7) Structural integrity assessment
A roof inspection isn’t complete without checking the structure that holds everything up.
Contractors examine:
- Rafters/trusses for sagging or cracking
- Signs of rot or water damage
- Insect or pest damage
- Uneven roof lines that indicate structural shifting
Structural issues affect safety and should be addressed before cosmetic repairs.
8) Documentation and reporting
Professional contractors document findings so homeowners can make confident decisions. A strong inspection report typically includes:
- Photos of problem areas
- Notes on severity and urgency
- Recommended repairs vs monitoring
- Material condition summary
- Optional cost estimates and timelines
This documentation also helps with insurance claims and future roof maintenance planning.
9) Repair priorities and recommendations
After the inspection, the contractor usually sorts issues into tiers:
Immediate repairs (high risk)
- Active leaks
- Missing flashing
- Punctures, severe shingle loss
- Structural weaknesses
Preventive repairs (medium risk)
- Minor flashing separation
- Early shingle cracking
- Gutter drainage issues
- Ventilation improvements
Maintenance items (low risk)
- Debris removal
- Resealing small areas
- Minor alignment fixes
If you’re looking for region-specific help, experienced Trenton NJ roofing contractors can guide you through the inspection findings and prioritize repairs based on local weather patterns and common roofing issues.
(Anchor text used: Trenton NJ roofing contractors.)
10) Clear communication with homeowners
The best roof contractors don’t just hand over a report—they explain:
- What’s urgent vs what can wait
- Which repairs deliver the best long-term value
- Whether repair makes sense or replacement is smarter
- How often the roof should be inspected going forward
A good contractor aims for clarity, not pressure.
Conclusion
Roof contractors handle a roof inspection using a step-by-step system: assessing surface condition, leak risks, materials, ventilation, drainage, and structure—then documenting everything clearly so homeowners can take action.
Regular inspections protect your property value, prevent surprise repairs, and help your roof last longer. If you schedule inspections consistently (especially after storms or as the roof ages), you’ll make smarter maintenance decisions and avoid the stress of last-minute damage control.